Friday, March 29, 2013

Happy 7th Birthday, Emily!

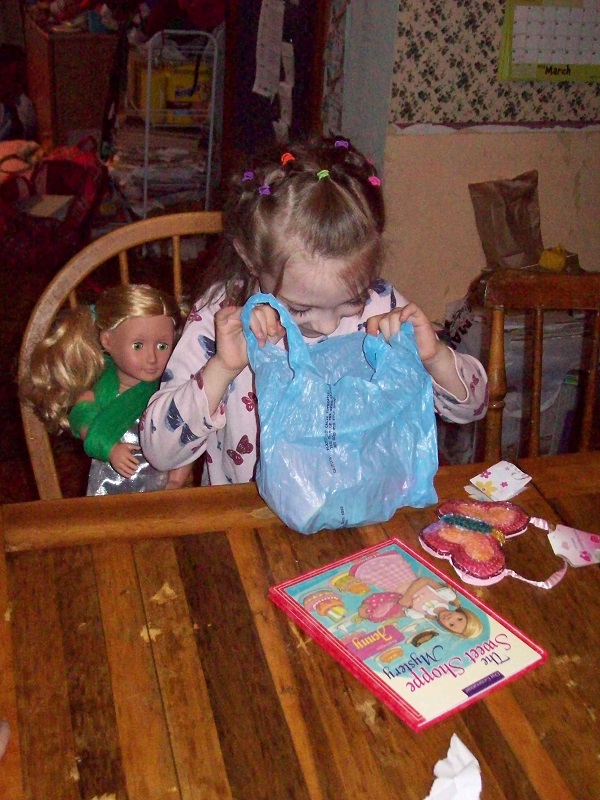
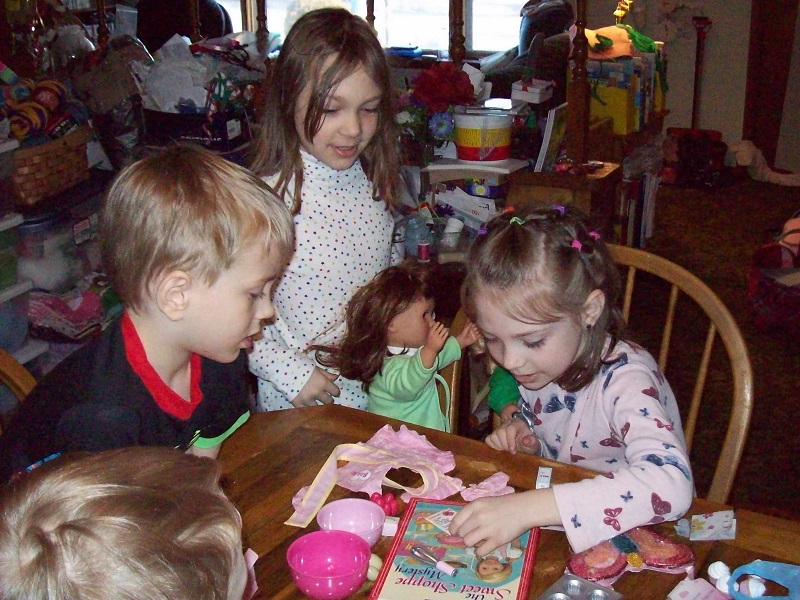
Today is Emily's birthday.  Her party is on Sunday, but she opened one of her gifts today.....


The dolls had to try out the baking things ☺

Since we didn't have school today, Emily passed out treats earlier in the week....


Monday, March 25, 2013

Review: We Choose Virtues


When I got the opportunity to review "We Choose Virtues", I was really excited.  Having a tool to help the kids obey and get along would be great!  
 This is what I got in my package (or through download via email):
1. Handbook (retail price $5:00 PDF)
2. Butterfly Award (retail price $3.00 PDF)
3. Coloring Pages (retail price $3.00 PDF)
4. Character Assessment (Free)
5. One set of Virtue Flash Cards (retail price $14.99)
6. A sample Parenting Card (retail price for the set $34.99) 

I looked it all over and decided that I needed to have the story that went with each character in order to use the Virtue Flash Cards.  I decided to get the "Kids of virtueVille Color-my-story Book" as it gave the story at a cheaper price than the Parenting Cards that I would have liked more.  
I decided to start with "I Am Self-Controlled" as I thought that would be a good one for my kids to work on first.  The kids were excited to use the program and had fun coloring the page that went along with each virtue.  I liked the coloring pages as they gave the kids something concrete to work on while we worked on the virtue (although it took almost a whole ink cartridge to print the 16 page book for all 4 of my kids!)

I need to be more consistent on working on the virtues, but I really like having a phrase to say to help the kids when they aren't exhibiting the correct behavior.  I can say, "Are you making yourself do the right thing?" I've even heard the kids say "Remember Stop Sign Madeline".


I like how the virtue kid's object starts with the same letter as the virtue and rhymes with the virtue kid's name.  For example: "Stop Sign Madeline" is for "Self-Controlled".  It makes it easier to remember.


I also liked the memory verses and Bible heroes that were given as another way to reinforce the virtue.  I would have liked more suggestions on how to teach the virtue more than just telling the virtue kid's story and reading the Bible hero's story from the Bible.  My mommy brain is a little muddled and needs all the helps it can get!  The Parenting Cards may give more hints, too, though, and I may end up getting them after all!


 The flash cards are bright and colorful and fun to work with.  It was nice that you can choose where to start working to tailor it to your own child/children.  I chose to have all the kids work on the same virtue, but you could have different kids working on different virtues, too.   I think this would be a very useful product for families of elementary aged children.  Middle school and older might think the coloring pages where a little childish ☺ (But she's working on an older kid's version) 
If you would like to get We Choose Virtues for your family, there are two discount codes available:
HOME20 is good for 20% off the Home School kits and will be usable through the end of April
VIRTUE15 is good for 15% off the entire cart and has no expiration date.
(The code is entered on the last page of checkout.)
I received this product to try for free in exchange for my honest opinion.  I did not receive any other form of compensation.  Each person is unique and you may have a different opinion than me. 


Friday, March 22, 2013

I "heart" patches ♥

Emily had a pair of lined jeans that had holes in the knees.  On regular jeans, I would have just cut them off for shorts, but since they were lined, that wouldn't work.  So I decided to put decorative patches on the knees.


I cut heart shapes for the patches

Pinned under 1/4"

Since it was stretch terry, I sewed it onto paper

back view

It tears right off

Then just remove the center piece

ta da

I pinned them on over the holes

and hand sewed them on

All finished


♥ ♥ ♥ ♥

Wednesday, March 20, 2013

Easter Dresses

When I realized I needed to get going on Easter sewing, I remembered a group of fabrics that I had intended to make something out of last summer.


But I couldn't remember what I had planned for them!


The top 2 fabrics I had purchased the same time that I bought fabric to sew last year's Easter dresses.  The middle 3 were remnants I had gotten at the same time as the remnants that went into last year's Easter dresses.  The bottom 2 fabrics were ones I had bought for other projects that didn't end up taking as much as I had purchased.

I played around with the fabrics and came up with this arrangement.  Finally, something to go on!  


Sarah ended up wanting a lighter blue not pictured (which I had left over from curtains for her baby nursery) for her bodice, so I used the purple for my bodice.  I used the same bodice from the pattern I used for last year's dresses, only moving the girls up a size.  I added 4" to the bottom of my bodice and 1" to the front neckline.  

Generally, I measured the bottom of the bodice and multiplied by 1.3 to get the length of the next tier. And then multiplied the length of that tier by 1.3 for the next tier, and so on.... Emily's tiers were 6" wide (before seams), Sarah's were 7", and mine were 9".  With the floral/butterfly print, I only had a piece that was 21" tall, so I just divided it into 3rds.  So mine was narrower than my other ones and Emily's was wider.  I would have made her's the usual 6", but I needed to use the end of her strip to add length to my strip.   I used 1/4" seams to sew the tiers together.  Make sure to include all of the selvedge in the seam!

Emily's tiers were: 33", 43" (1 width of fabric), and 56"
Sarah's tiers were:  36", 47", and 61"
My tiers were: 50", 65", and 86" (2 widths of the fabric)

When the strip needed to be longer than the width of the fabric, I cut one strip all the way across and then sewed it to the corner edge of the rest of the fabric (so the rest of the fabric could be one piece).

Then I laid it out flat and measured the right length.


I folded the other end of the strip back onto itself matching the tops and lining up the end with the pin marking the length I needed.


Then I cut along the edge of the top strip.


I color coded the strips with pins to keep them straight!  Some of the tiers were easy because only one of us had that color, but I didn't want to mess up the others!


I followed the pattern instructions for the bodice parts and then I took the top tier and gathered it onto the bottom of the bodice.


I also gathered the last tier to the middle tier


Once I sewed those seams, I gathered the bottom of the skirt to the bodice part and sewed them.


Rolled hems.


Pinned the top for elastic casing.


Yay!  All finished 


The boys still fit their shirts from last year, so I saved myself some work and will have them wear last year's shirts.


Tuesday, March 19, 2013

Dress Re-purposed

I never liked my Easter dress from last year.  It had too much blue in proportion to the rest of the colors.  I decided that it would work well as a shirt instead as the colors would be more balanced.  So I cut off the bottom of the dress.


I just put in a rolled hem on the bottom of the shirt and then folded over the top of the bottom half of the dress to make a casing for elastic.


Much better ☺

Monday, March 18, 2013

Rest Time

Today, Andy wasn't too happy about having to stop playing with the "Big Guys" (aka, my Star Wars action figures) to have rest time.  I suggested that maybe the "Big Guys" could have rest time, too.....